Accessing Documents & Resources
In this module, you can find the following collateral:
•Find training materials for the programs you purchased and are authorized to teach, located in the Training Materials option.
•Access HSI resources such as, but not limited to, curriculum information, logos, and marketing collateral located in the General Documents option.
•Add your own documentation to store in the Personal Documents option.
Access this information by selecting DOCUMENTS/RESOURCES in the navigation pane.
Topics include:
Accepted Document Format Types
Accessing Training Documents
You can obtain various training collateral, including, but not limited to, presentations and exam documents, instructor guides, and course outlines.
Step 1Choose DOCUMENTS/RESOURCES in the navigation pane to open the Training Materials window.
The window automatically displays Training program folders.
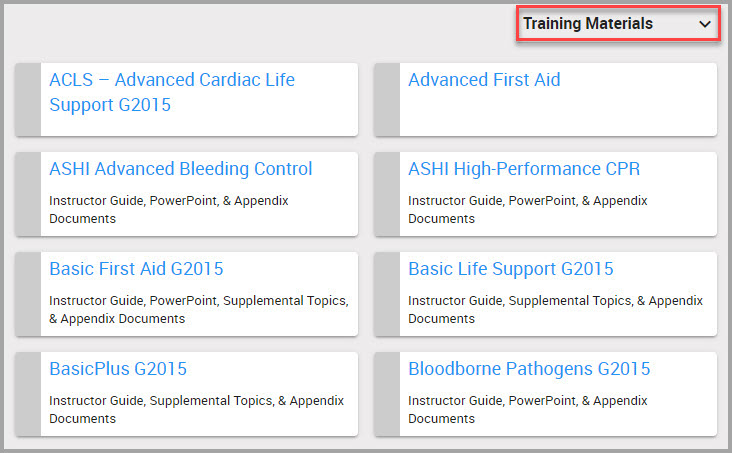
Step 2Click on a program folder to display its contents.
Step 3Reveal additional contents by clicking on a folder’s caret shown, next to the folder name.
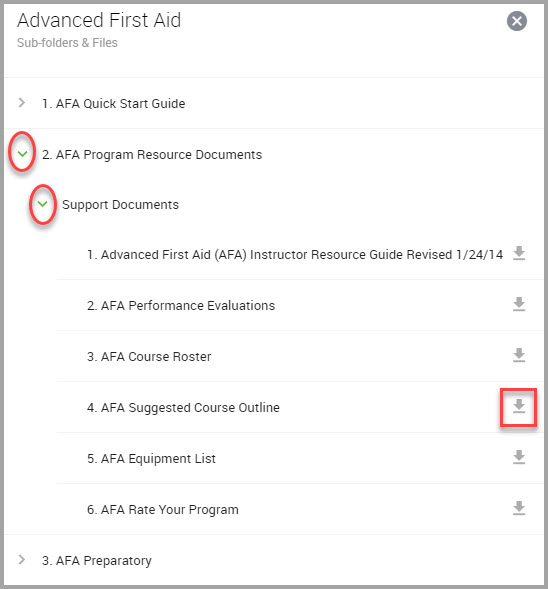
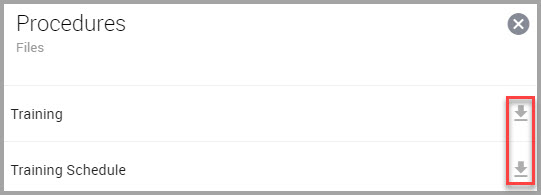
Step 4(Optional) Click the download icon (bordered in red) to print out or save the material.
Accessing General Documents
You can find general HSI resources such as curriculum information, logos, and marketing collateral by performing the following steps.
Step 1Choose DOCUMENTS/RESOURCES in the navigation pane.
Step 2Click the drop-down menu and select General Documents to reveal its folders.
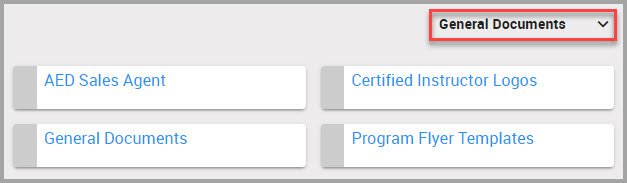
Step 3Click on a folder to display its contents.
Step 4Reveal contents by clicking on folder’s caret, shown next to folder names.
Step 5(Optional) Click the download icon (bordered in red, above) to print out or save the resource.
Accessing Personal Documents
This section provides instructions for accessing and adding personal documents and folders.
Note You can create a folder when you add a personal document. See Adding a Personal Document.
Step 1Choose DOCUMENTS/RESOURCES in the navigation pane.
Step 2Click the Training Materials drop-down menu and select Personal Documents to display previously created folders.
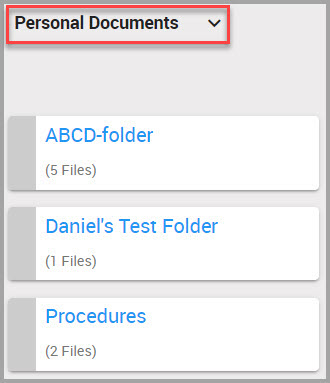
Step 3Find and click the folder that contains the document you are interested in.
Step 4To view a document, click the download icon, shown bordered in red in the following image.
Accepted Document Format Types
Document format types accepted by the system include:
|
.bmp |
.doc |
.docx |
|
.gif |
.jpeg |
|
|
.png |
.pps |
.ppsx |
|
.ppt |
.pptx |
.rtf |
|
.txt |
.xls |
.xlsx |
Adding a Personal Document
Step 1Choose DOCUMENTS/RESOURCES in the navigation pane.
Step 2Click the Training Materials drop-down menu and select Personal Documents.
Step 3Click +ADD NEW DOCUMENT.
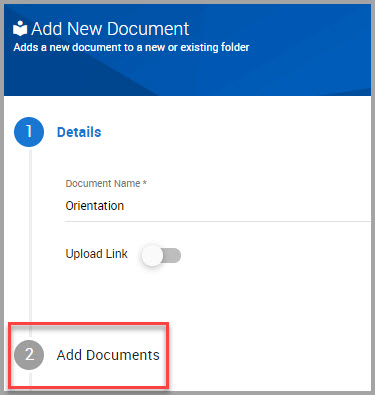
Step 4Provide details in the Add New Document window.
Note Fields accompanied by an asterisk (*) requires input.
•Provide a Document Name*.
•(Optional) Provide a Description for the document.
•(Optional) Click Upload Link if you want to include a hyperlink.
—If you clicked Upload Link, add the complete URL*.
Step 5When you finish with the Details section, click Add Documents.
Step 6In the Add Documents section, decide to either:
•Drag-and-drop the document inside the text box,
or
•Click Select a File to browse your computer for the document.

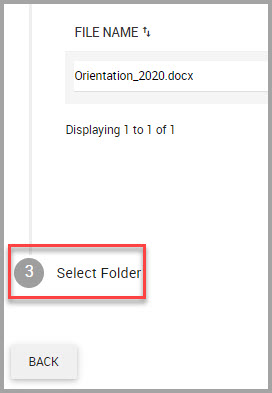
After performing either choice, the file name displays.
Note You can remove the file by clicking the Trash icon.
Step 7Click Select Folder to continue.
Step 8Decide for the following:
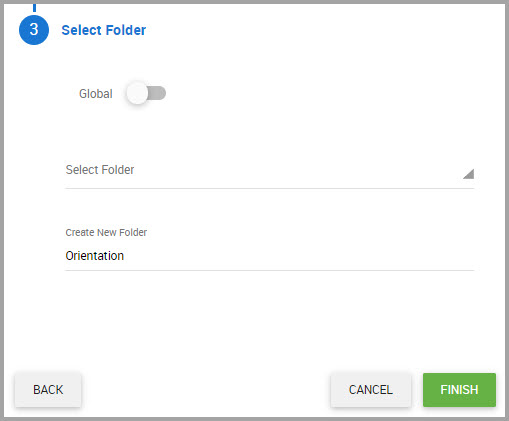
•Click the Global toggle if you want to make the document visible and available to everyone in your hierarchy. If you don’t select this toggle, the document is visible and available only to you.
•Click the Select a Folder drop-down if a suitable folder already exists.
OR
•Create a New Folder by entering its name.
Step 9Click FINISH.
Step 10 When the Documents Added dialog displays, decide to either:
•Add another document by clicking YES.
•Exit the process by clicking NO.
Step 11 (Optional) To view the document:
•Click the X at the top of the Edit Document window to return to the Personal Document, find and click on the folder you placed it in.